 Anyone who had ever restored a car from the Fifties or Sixties and even more so from the pre-war years will telly you that while the vehicle still possesses the same common factors, every aspect of its makeup is almost entirely different from one produced in the 21st century.
 That’s why it is perfect sense for the restorer to set aside whatever time necessary to get acquainted with their restoration vehicle before launching themselves into the project.
After all, their restoration is liable to become a significant part of their lives for the next weeks, months, and even years.
Every engine compartment in a classic car is crammed with so many parts that even the most experienced mechanics would find it challenging to identify them.
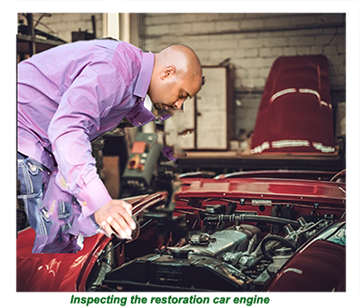 Typical of the times when the vehicle was produced yet different from any layout they will be familiar with today.
Indeed, there are so many wires and hoses, sealed electrical components, emission control devices, and other obscure parts that most factory engineers would even be unable to identify them all without reference manuals.
As in the restoration itself, getting to know the restoration vehicle requires being extra methodical and going through each item to get to know them as much as possible with a realistic time scale.
In the unlikely event that the car comes with its original service manual- or even if a reprint is available, studying it will be an invaluable aid in getting to know the car.
Service manuals can be acquired online or at a car accessory centre from one of the publishing companies that provide this service and at a very reasonable cost. The first and most logical step is to look under the hood, which can sometimes be easier said than done as the bonnet catches of old are very different from those of today.
![]()
In most cases, they are well buried under the dashboard, to the left of the driver, although in some models, it can be found outside the car at the top or bottom of the grille and even in more extreme cases, under the front bumper.
 Once opened, most hoods are self-supporting in the raised position, held firmly in place by heavy springs at the rear of the engine compartment, while others are held in place up by a rod that fits in a slot in the hood.
These rods are notoriously unreliable and known to fall on the person who happens to have his head and upper body in the engine compartment at the time.
Once the restorer has passed their first test and succeeded in accessing the engine compartment, they can feast their eyes on the array of components that will provide power to their car one day.
 If the engine turns over, it is worth observing all of its components in operation to follow if they are playing their part.
Notes should be written and digital photographs taken as it will be difficult if not impossible to remember the state of health of each article and their position in the engine.
 The next step is to closely examine the auto-electrical functions of the vehicle, especially the wiring harness, to see how intact it is.
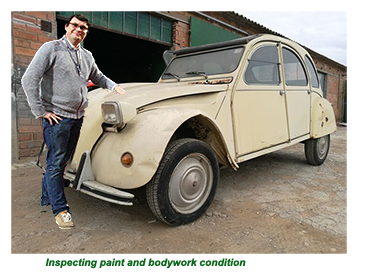
Once the engine compartment has finished being scrutinised, the next stage is to closely examine the bodywork for signs of rust on the sill and wings and whether there are any signs of accident damage.
Tapping the body along the way or even rolling a magnet will indicate if filler has been used to fill in dents.
![]()
The next stage should be paintwork. If the paint has not been overwhelmed by the ravages of rust, the chances are that most, if not all, will be badly faded.
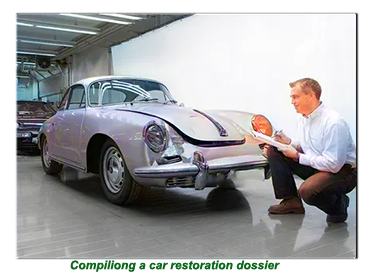 Areas that have remained in original condition should be photographed, and if a sliver of the original paint colour be scraped off, it will be invaluable in matching the colour before painting,
Exterior trim should be the next port of call for inspection, particularly if there is damage to the chrome or signs of rust anywhere.
A quick look round the interior of the vehicle should come next, with close attention paid to the instruments and gauges, steering wheel, dashboard, especially if it is wood panelled.
Delicate items such as door panels, roof lining, upholstery and carpets should also be assessed, and even a rudimentary budget put together to cover renewing the exterior.
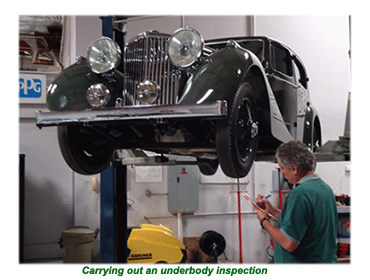
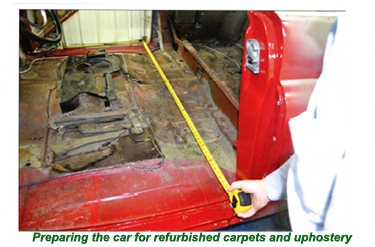 The final and no less critical area to be examined will be the vehicle underbody. This procedure can only be done if the vehicle is put up on a hydraulic ramp, preferably in good light, so that close scrutiny can be carried out to see if there is rust on the underbody and frame.
If the frame appears to be in any way bent, this will be a real problem but one that can be clearly ascertained in the workshop with proper equipment.
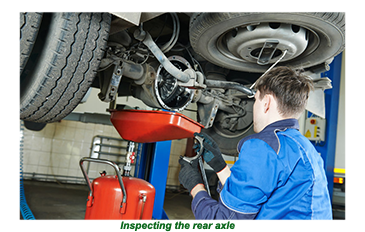
 Next to be studied should be the axles, suspension system, brakes and exhaust systems, although the chances are that these will all have to be restored and even replaced.
If the examination has been carried out thoroughly and correctly, sufficient information should have gathered to compile an individual dossier containing the position and condition of each item in the vehicle, no matter how small and inaccessible they may be, that will prove invaluable throughout the restoration process.
Back to the homepage- and don't spare the horsepower.
ub5
